


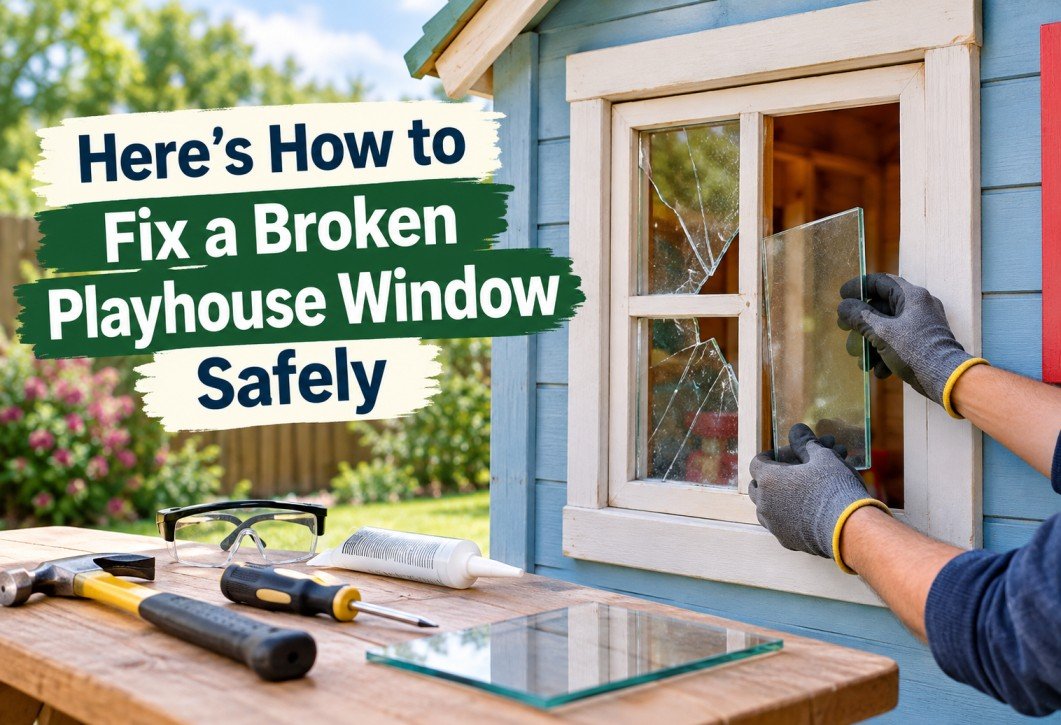
It only takes one stray football to turn a playhouse window into a pile of jagged pieces on the grass. If you’ve got kids, it’s basically a matter of when, not if. Luckily, replacing a broken playhouse window is one of those DIY jobs you can knock out in under an hour, and you don’t need any specialist tools to do it. Once you’ve cleared the broken glass and measured up properly, you can have a tougher, shatter-resistant replacement fitted before lunch.
Clear the Broken Glass First
Get the kids and pets inside before you do anything else. Tiny glass fragments bury themselves in grass and can hang around for weeks, so you’ll want everyone well out of the way while you work.
Thick work gloves and safety glasses are a must. If part of the broken pane is still sitting in the frame, wiggle each loose piece free and drop it straight into a cardboard box or a heavy-duty bin bag. Then run your gloved fingers along the rebate, which is the channel where the glass sits, and pull out any old glazing pins, panel pins, or silicone that’s left behind. A flathead screwdriver will help you pry out anything stubborn. Once everything’s cleared, give the frame a light sand and brush it down so you’ve got a clean surface to work with.
Measure the Opening Properly
Rushing this part will leave you with a pane that’s either too big to slot in or too small to stay secure. Grab a tape measure and check both the width and height of the rebate in at least two spots, because playhouse frames are rarely dead square.
Take the smallest number for each dimension and knock off about 2mm. That small gap stops the pane from being forced into place, and it also accounts for the wood swelling and shrinking with the seasons.
Pick the Right Replacement Material
Most playhouse windows come fitted with thin glass or styrene, and neither one holds up well around children. A premium clear acrylic sheet cut to your measurements will be a significant step up. Acrylic is roughly 17 times more impact-resistant than glass, so a direct hit from a football won’t send dangerous shards everywhere. It’s lighter too, which means less strain on a flimsy timber frame. You’ll get the same see-through clarity you’d expect from glass, but it can actually take a beating without cracking.
Fit the New Pane
Drop the acrylic into the rebate and check the fit. Snug but not forced is what you’re after. Run a thin bead of clear silicone sealant around the inside edge of the rebate, press the pane in gently, and then tap a few panel pins into each side to hold everything steady while the silicone cures. Any excess sealant can be wiped off with a damp cloth before it skins over.
The silicone needs a full 24 hours to set before the kids go back in. After that, the window should hold up for years without any issues.
A Repair That Lasts Longer Than the Original
Swapping out a broken playhouse window takes maybe 45 minutes. But choosing acrylic over glass means you’ve turned a quick repair into a genuine upgrade. You won’t be picking shards out of the lawn after every kickabout, and there’s no reason to panic when a ball goes wide. Sooner or later, another football will find that window, and the acrylic will just bounce it straight back.
